Everyone loves an easy inexpensive Dollar Tree DIY! Come see what we made today, you will be jumping in the car and heading to the store for the materials.
Dollar Tree DIY
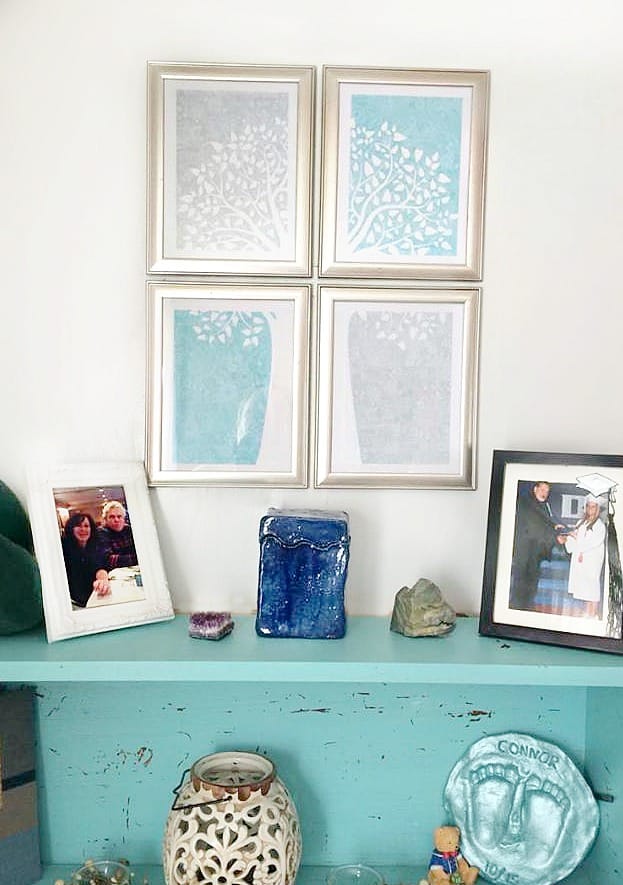
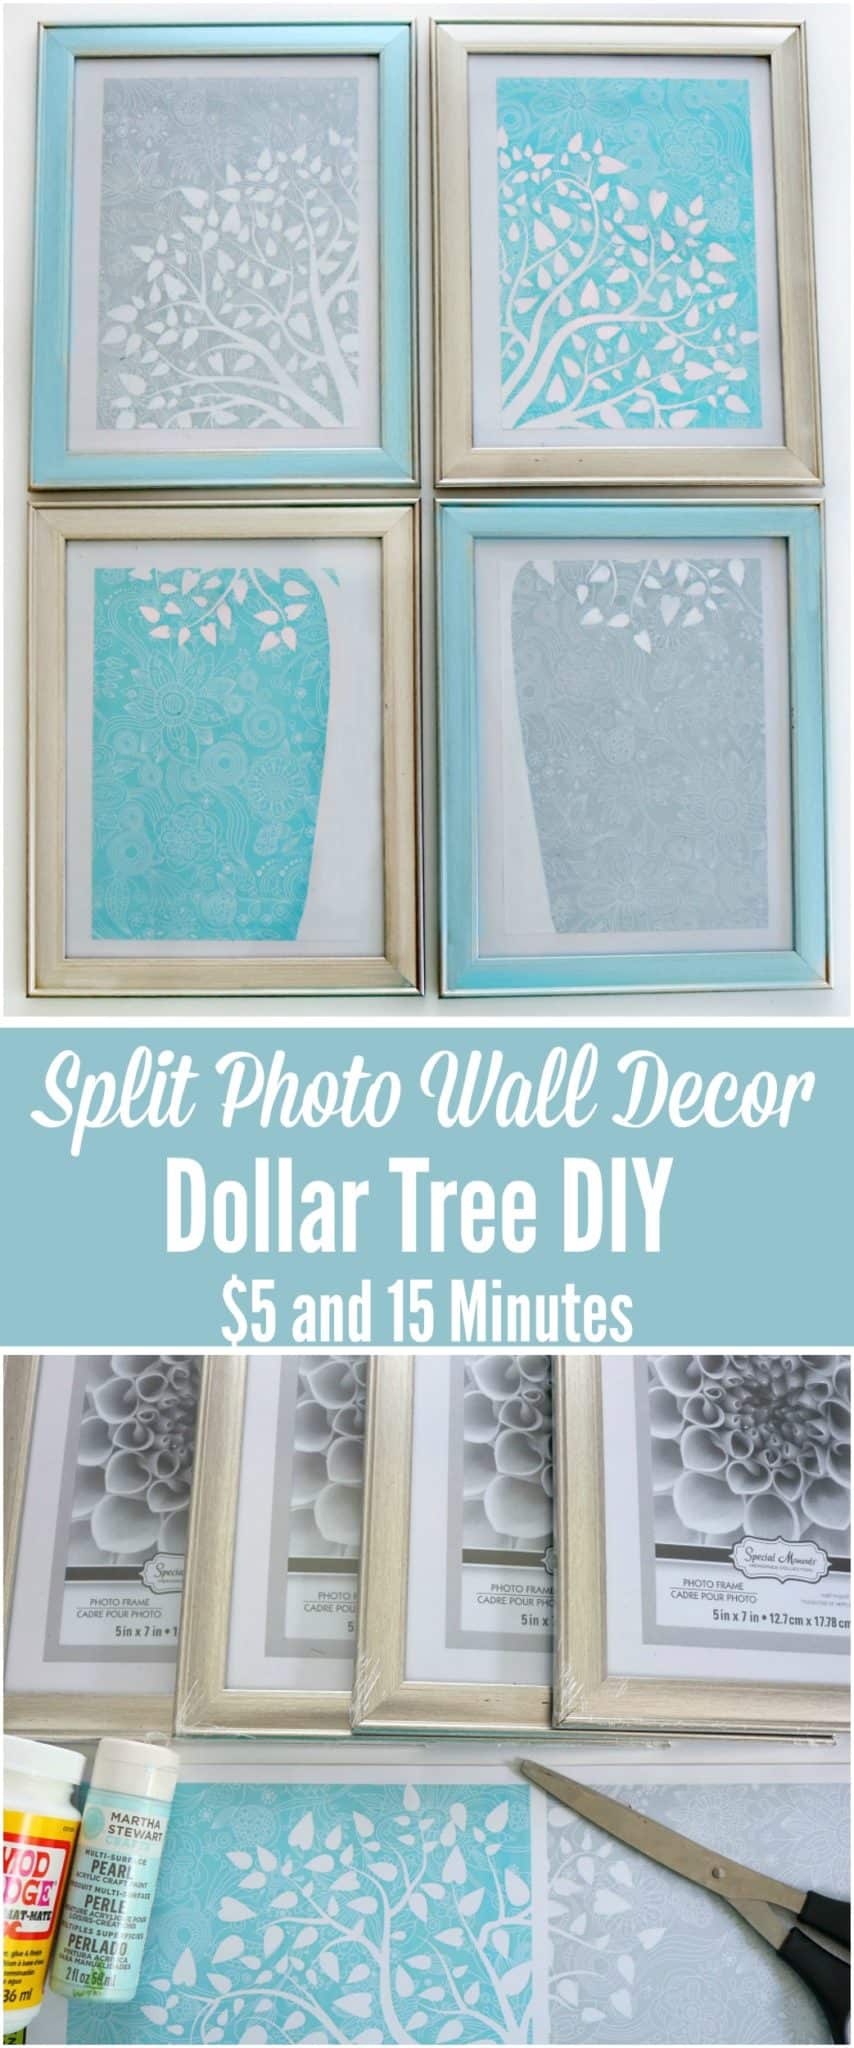
$5 & 15 Minute Gallery Photo Wall
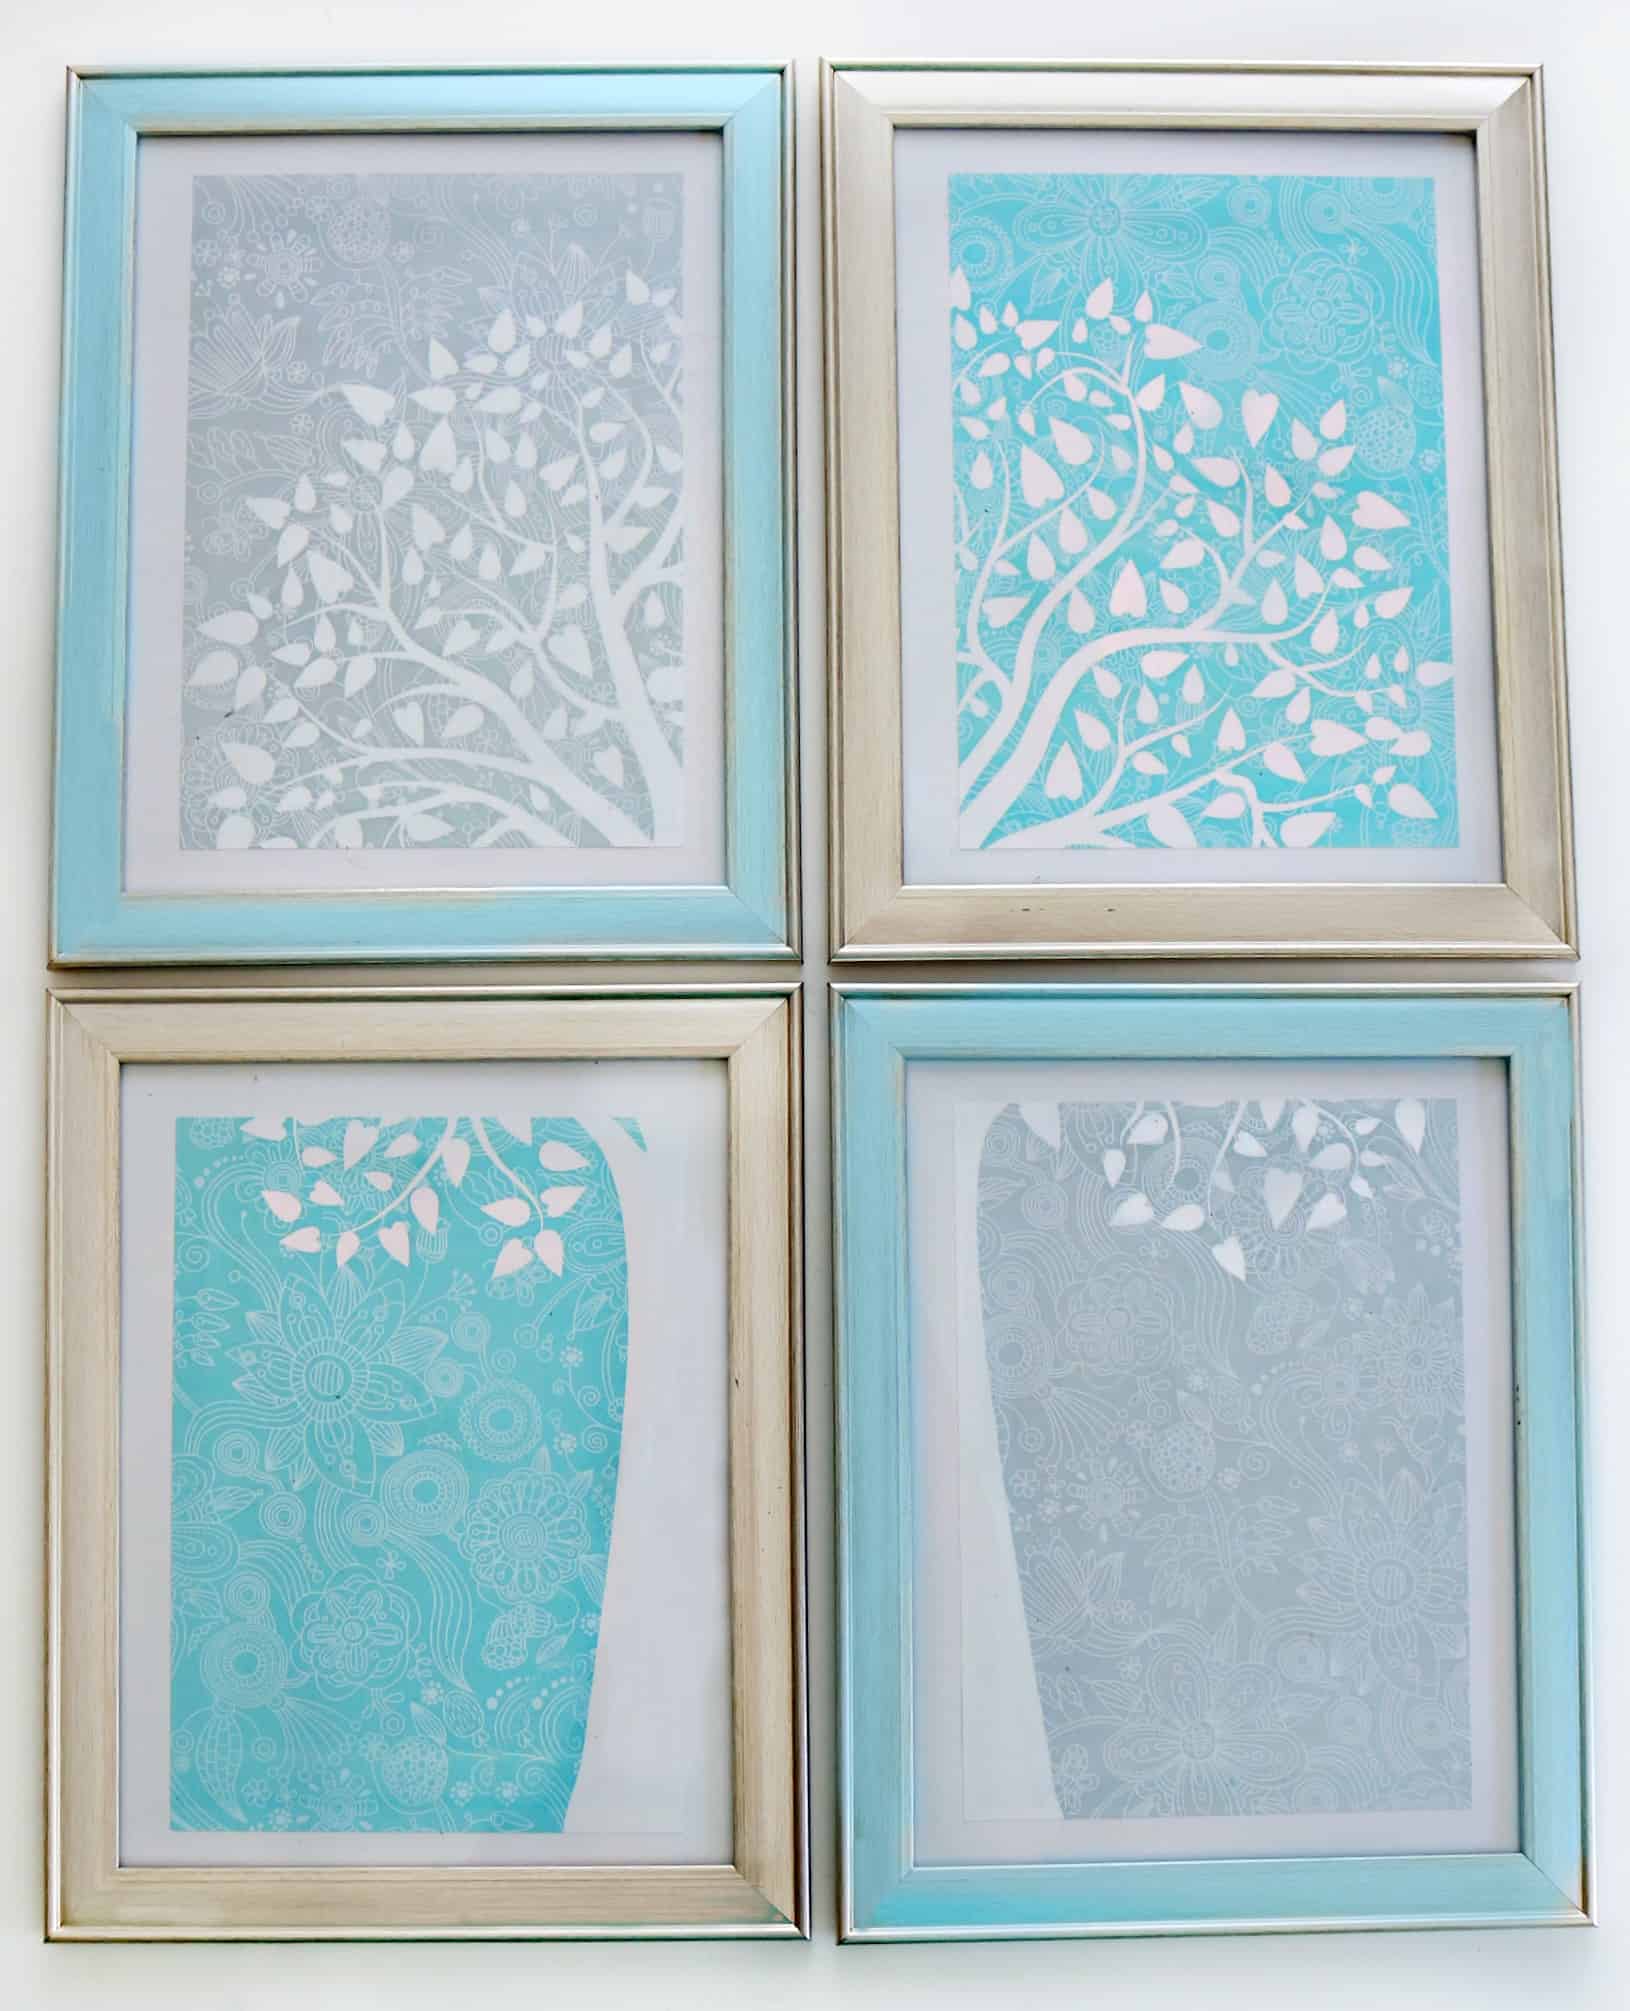
You don't have to spend a ton of money at trendy stores to make your home look good. The proof is in this pretty Dollar Tree DIY split photo/gallery wall style photo display. I happened to be at Dollar Tree picking up some craft items and saw these really inexpensive frames. They must have just received a new shipment because there was boxes of them. They are 5x7 and metal framed, not plastic. I am really surprised at the quality of these for only $1.
I picked up 2 and as I walked the store my mind was racing wondering what I could do with them. Then I stumbled across their wall stickers and this beautiful split tree sticker. Again, for $1. Remember everything at Dollar Tree is just a buck! I went back and picked up 2 more frames.
So for $5 I was able to make a split photo/gallery wall display that is at the least 10 x 14. The size will depend on how far apart you hang the frames.
Note* if you purchase these materials at stores other than Dollar Tree the completed project may cost more than $5.
Here is how to make it :
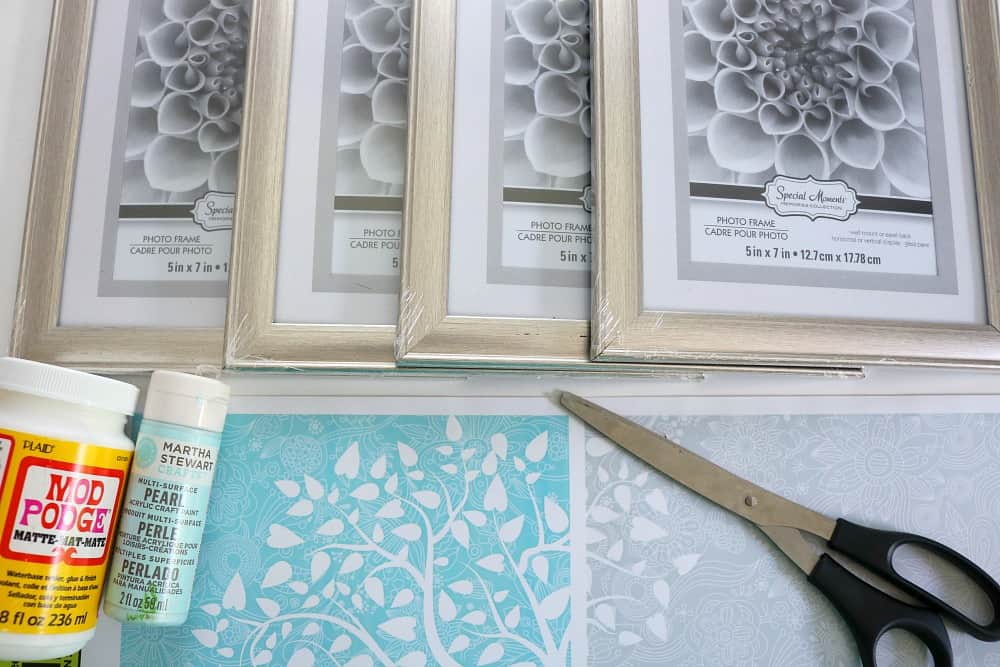
Materials
4 - 5x7 frames
1 split tree wall sticker (I check with the cashier and she stated it is standard to carry at all Dollar Trees along with other color variations)
Mod Podge Matte (optional)
Craft Paint (optional)
Instructions
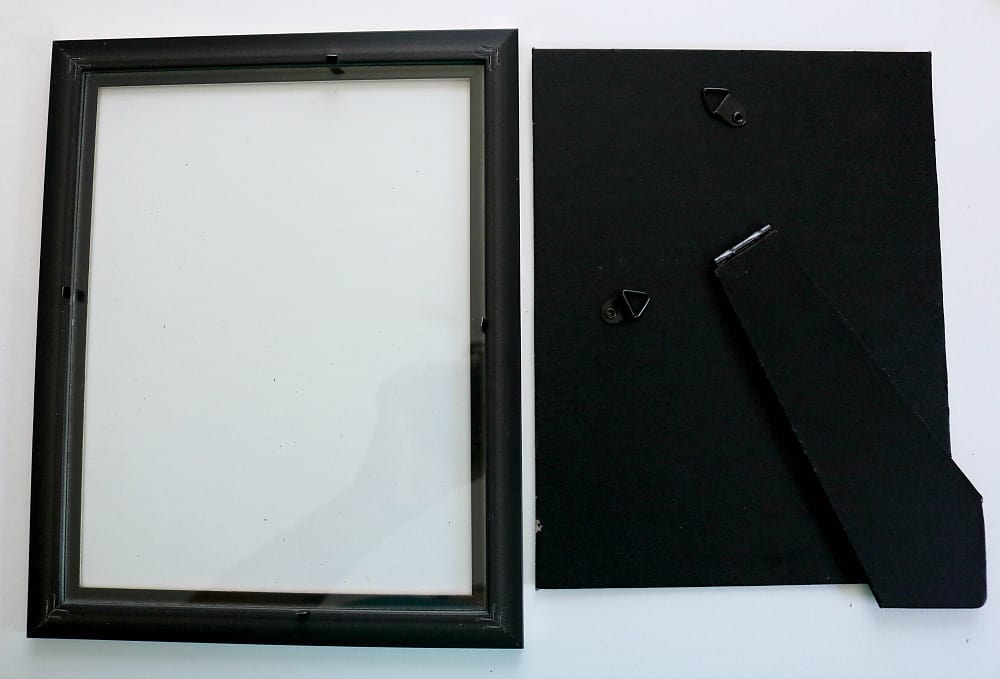
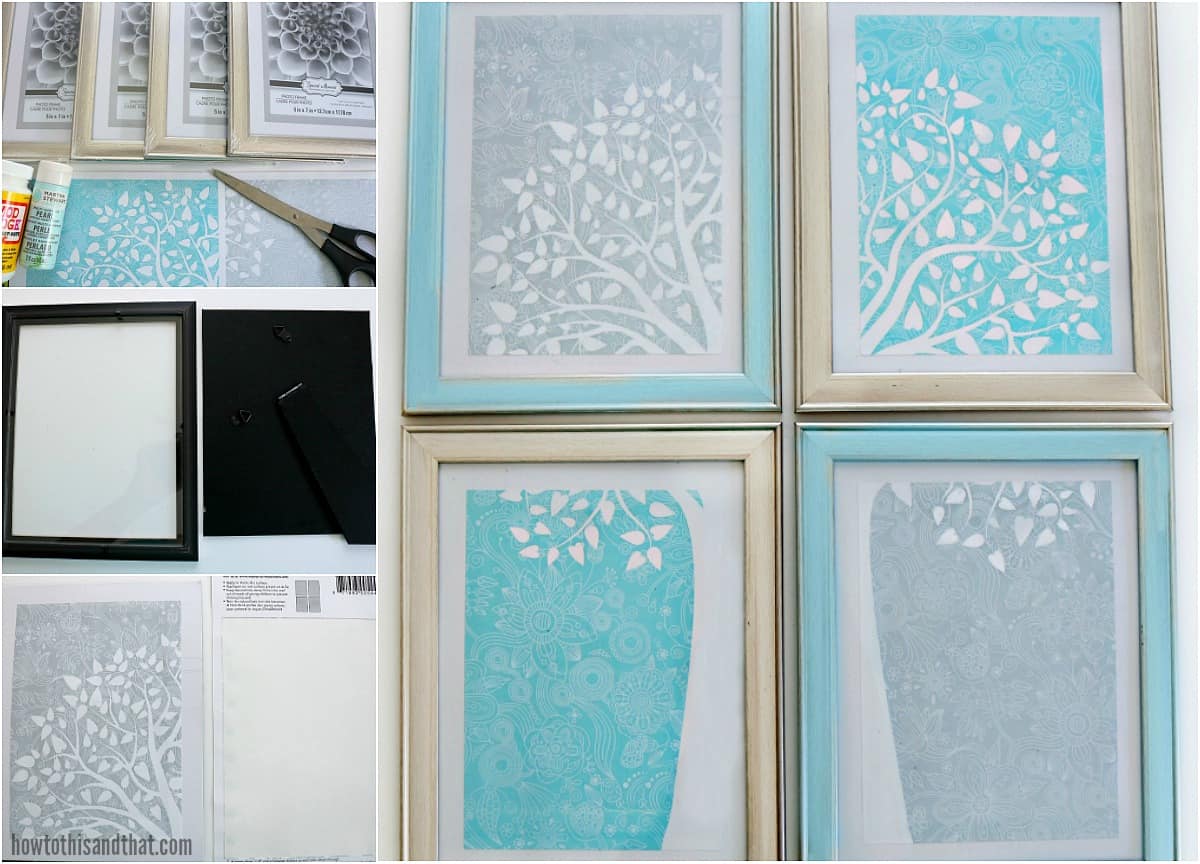
Remove the plastic and paper from the photo frames.
Take the cardboard backing off.
OPTIONAL STEP- Now, you can hang these just the way they are, the frames are gorgeous! But I decided to add more color. To do this, I painted the 2 frames opposite of the blue sticker the same blue. Let it dry, then coat with Mod Podge to seal. Allow to dry. Of course do this prior to adding the stickers and putting the frames back together.
Continuing-
Peel and stick each sticker to the cardboard matte insert.
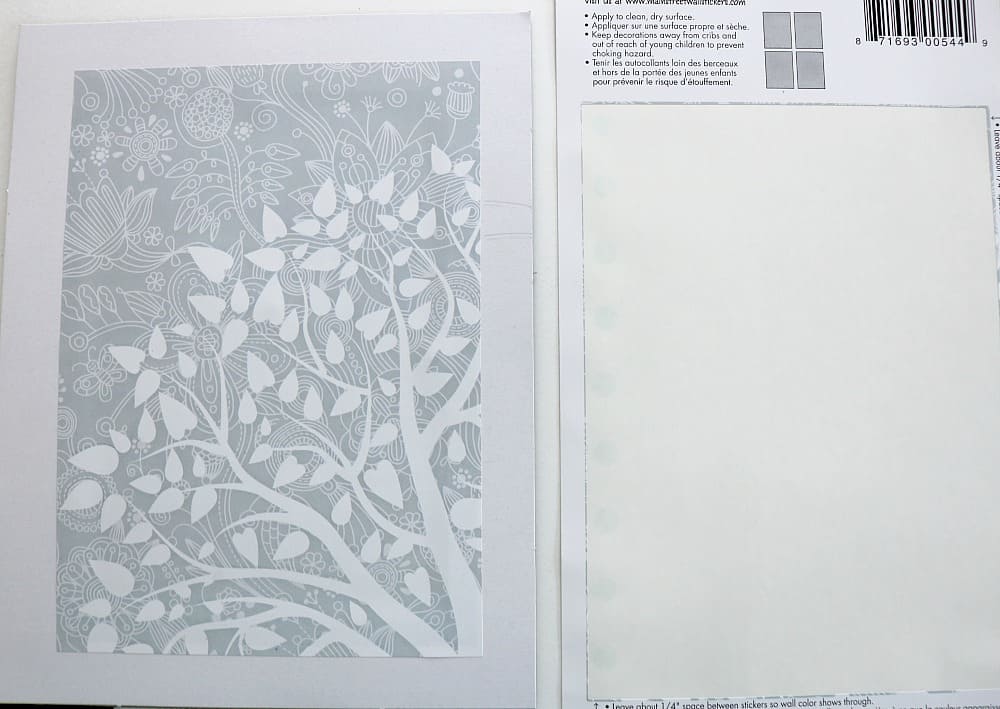
Place onto the glass of the frame and replace the back.
Do this for all 4 pieces.
Hang with nails!
TIP* You may want to remove the stand up prop on the back of the frame to get them to lay flat against the wall. Ours came right up with the help of scissors without damaging the frame backing.
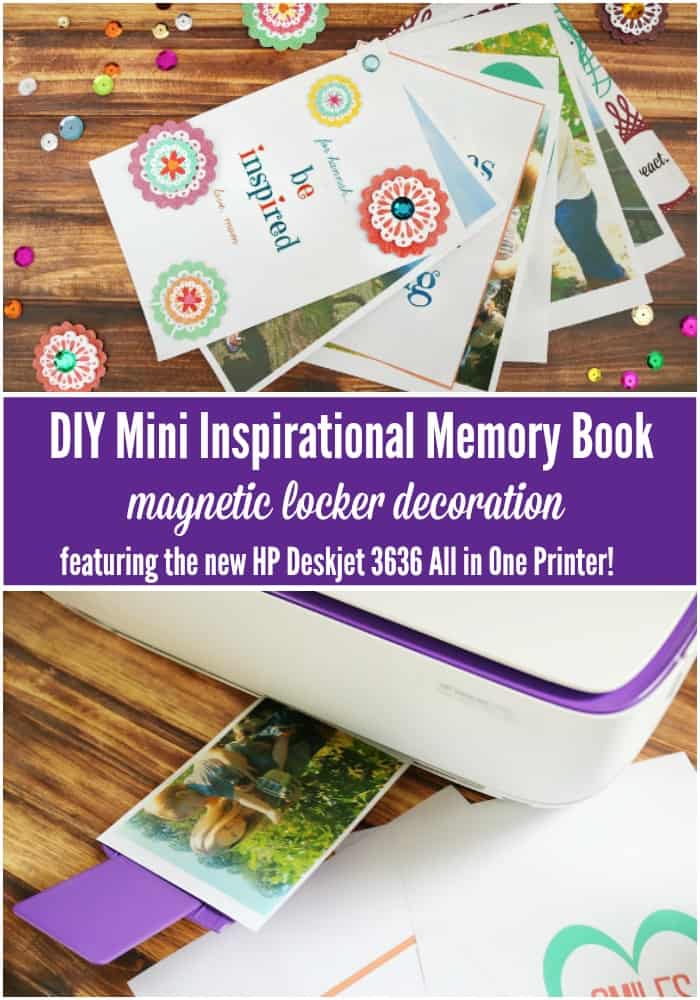
Another fantastic DIY project! Have kids going back to school? Help make their day a bit brighter with this
DIY Inspirational Scrapbook Locker Decoration!
Related Posts:


Owner & Lead Recipe Developer for It's Simple! since 2015, where you will find our best Family Favorites & Keto Low Carb Dishes with Helpful Cooking Tips & Hints in each post. Many Thanks for Stopping By, Enjoy!
This is a great project but that lantern in the first picture is amazing. Where did you find that?? Thank you.
Hi Jen , Thank you - Christmas Tree Shop! 🙂
They came out beautiful. What a great idea you came up with.
Thanks for sharing.
That is fantastic! Feel free to email us photos and we will add to our post with your name ! 🙂
Such a nice idea.Looks great. Thank you for sharing with us at #HomeMattersParty. We would love to have again next week.
These came out great! It's hard to believe that they came from the Dollar Tree! I especially like how you alternated the colors to compliment each other. I have also made a gallery wall with frames from the Dollar Tree, but haven't painted them because I was unsure how they would come out. Now I know!
Kate | TheOrganizedDream.com