How To Do Your Own Acrylic Nails At Home Cheap. SAVE a ton of money using our DIY Acrylic Nails with Tips Tutorial. Doing your own acrylic nails at home is EASY and Convenient, we will show you how to get it done.
How To Do Your Own Acrylic Nails At Home
Ideally, we may all want to sit in a salon all day and be pampered. However that just isn't realistic for a lot of us. I can barely find time to get my hair trimmed once every few months. In addition to the expense, it takes time and travel.
Acrylic Nails At Home Are Cheap
Nail art and artificial nails are bigger now than ever and it can be very costly. We are going to teach you how to do your own acrylic nails at home and save yourself some money. The kits cost far less then a full set and go farther. Doing them at home will not only save you a lot of money, but give you the freedom of changing your style how and when you want to.
How Much Do Acrylic Nails Cost
Depending on your location, salon acrylic nails with tips run around $50 a Full set with fills starting at $35. Fills are needed on average every two weeks. You only get longer if you are lucky and special moons align. This is for basic nail tip with clear acrylic and then painted with polish. Now imagine you want a French manicure or design. Buying a kit and doing your own acrylic nails at home is cheap because you get so many uses out of the materials.
Most nail salons charge extra for the following:
- Extra long length
- Colored Acrylic
- Nail Art Designs and Embellishments
- Filing Acrylic Nails into a Shape other than "normal"
- Soaking Nails Off
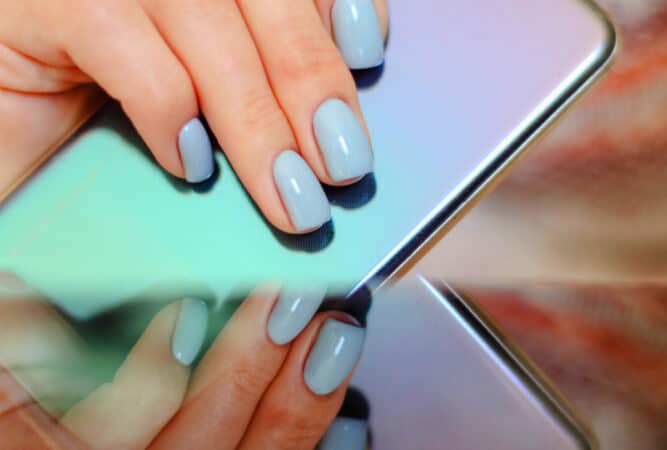
Photo Courtesy of Unsplash
What is an Acrylic Nail Kit
An acrylic nail kit comes with everything you need to do your own nails including tips, monomer, polymer, glue, brush and much more. Kits can range from $30-$200+ depending on what brand and items included. Some acrylic nail kits even come with design elements. The Savings happen when you realize how many times nails can be filled or even a new set put on out of one kit. Even the nail tips come in such a huge quantity cheap.
Where Can I Buy Acrylic Nail Tips & Kits
You do not need to be a professional to do your own nails, you just won't be able to purchase the materials at a Beauty Supply store that requires a license. However that's ok because we buy a lot from Amazon anyways! I'm a Licensed Cosmetologist and I buy from other places online or a store that DOES NOT require a license, like Sally's Beauty Supply. It is just cheaper. Ebay is also great for nail tips, rhinestones, polish, files and so much more.
Acrylic Nail Tutorial
Important- GET organized. I suggest buying a small, cheap tackle box or plastic container with cover. Have everything ready to do your own nails. Remember most times you will be down a finger or two. It helps to plan ahead. Oh and Go PEE first.
How To Do Your Own Acrylic Nails at Home Cheap
What you need
- Nail glue
- 6 way nail file- different levels of roughness (grit)
- Nail Tips- can be any color
- Base & Top Coat
- Bond Aid - Bond Aid is the name brand for a product that helps dehydrate the natural nail so the acrylic will adhere better, similar items can be found online
- Nail Brush
- Paper Towels
- Cuticle Pusher
- Acrylic Nail Cutters
- Acrylic, Which is a two part system : Monomer(liquid) Polymer(powder)
Together the two react and form a gel like substance. This is then applied over the natural nail and tip to harden and form the acrylic nail. A kit is the cheapest way to go. Remember, pay once and have everything you need for months worth of fills!
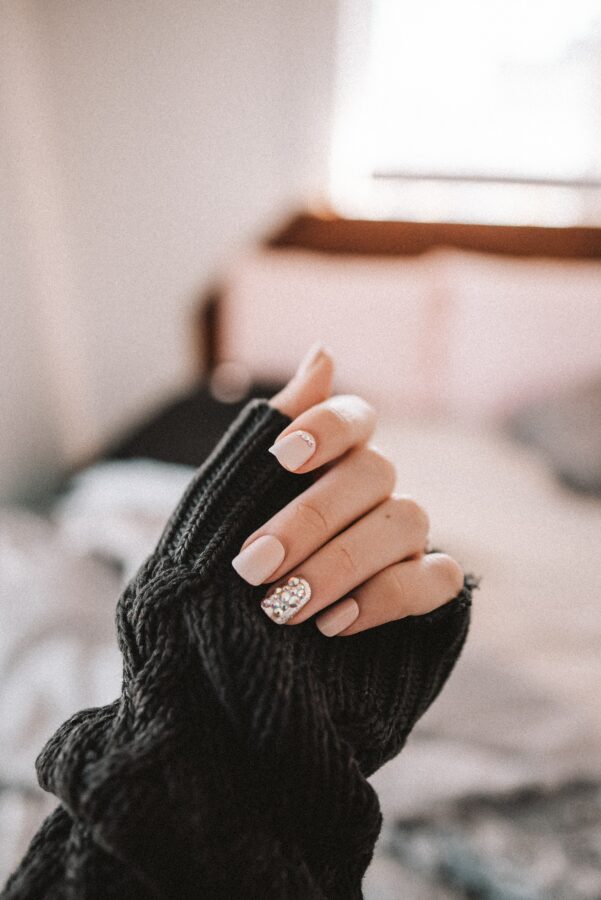
Photo Courtesy of Unsplash
Instructions for Acrylic Nails at Home
Nail Tips
- Trim your natural nails down to just the tip of your finger, do not cut too short.
- Use a mild nail file to gently rough up the surface of your natural nails. Gently push back the cuticle and trim any hang nails.
- Get out your nail tips, size them to your fingers, keep them in order so you do not get them mixed up and have to fumble for them when you have nail glue on.
- Pour a small amount of Monomer into a monomer dish. Have your acrylic powder, polymer next to it with paper towels and your nail brush.
- You will be working one finger, one hand at a time: Start with your pinky on the hand of your choice , add a small dab of glue on the ridge of the nail tip.
- Line the tip up onto your natural nail where indicated by the nail tip sheet, should be just at the tip no lower then the skin on the side of your finger.
- Press down firmly, count to 3 slowly, continue on each nail
- Trim to size with acrylic nail cutters, they are a must. You want one swift smooth cut, regular nail clippers will not do that.
- Lightly file the edge to desired shape.
Applying
- Starting with the pinky on one hand and working to the thumb, dip your brush into the liquid and touch the brush tip to the powder. A small ball should form. Place that at the cuticle edge and smooth it forward mid nail. Use the brush to smooth by "patting" not dragging or painting motions.
- Repeat with a new ball on the brush, place at the middle of the nailbed patting forward to the tip. Be sure to get the edges of the nail. Use the brush to go around the edge of the cuticle clearing off any excess acrylic.
- Once dry and hardened on each nail, start with the roughest file or use a drill to file until smooth. Find more information here Do your own acrylic nails cheap! Applying Nail Acrylic Tutorial VIDEO
LEARN HOW TO SHINE NAILS WITHOUT A TOP COAT
Alternative DIY Acrylic Nails
If this way doesn't sound like something you want to mess with(it really is easy once you get the hang of it), try these alternatives:
GEL BASED- There are many gel nail products out there, most popular right now being the "self leveling" gel. Apply a small amount of gel to the nail tip and use the brush to pat, initiating the melt down. Gel will start to ooze all down over your nail tip, supposedly perfectly every time. I haven't ever tried!
Powder Dip- No this is not the candy from your childhood, powder dip is another acrylic nail tutorial, or process that can be easy. You simply dip your nail in the liquid then in the powder. Allow it to harden. File. Haven't tried this either, sounds a bit too good to be true. Have you tried it?
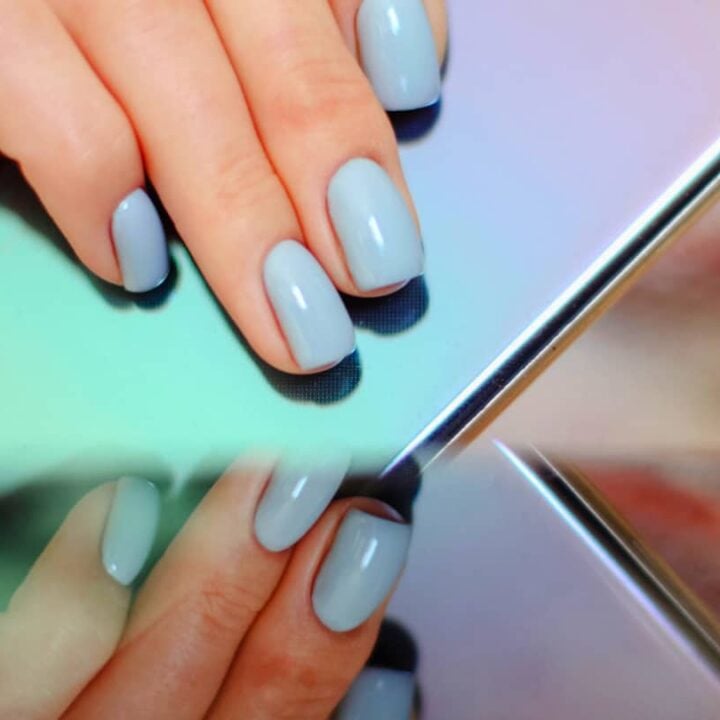
How To Do Your Own Acrylic Nails
Materials
- Nail glue
- 6 way nail file- different levels of roughness (grit)
- Nail Tips- can be any color
- Base & Top Coat
- Bond Aid - Bond Aid is the name brand for a product that helps dehydrate the natural nail so the acrylic will adhere better, similar items can be found online
- Nail Brush
- Paper Towels
- Cuticle Pusher
- Acrylic Nail Cutters
- Acrylic, Which is a two part system
- Monomer - Liquid
- Polymer - Powder
Tools
- Nail Drill (Optional)
Instructions
Nail Tips
- Trim your natural nails down to just the tip of your finger, do not cut too short.
- Use a mild nail file to gently rough up the surface of your natural nails. Gently push back the cuticle and trim any hang nails.
- Get out your nail tips, size them to your fingers, keep them in order so you do not get them mixed up and have to fumble for them when you have nail glue on.
- Pour a small amount of Monomer into a monomer dish. Have your acrylic powder, polymer next to it with paper towels and your nail brush.
- You will be working one finger, one hand at a time: Start with your pinky on the hand of your choice , add a small dab of glue on the ridge of the nail tip.
- Line the tip up onto your natural nail where indicated by the nail tip sheet, should be just at the tip no lower then the skin on the side of your finger.
- Press down firmly, count to 3 slowly, continue on each nail
- Trim to size with acrylic nail cutters, they are a must. You want one swift smooth cut, regular nail clippers will not do that.
- Lightly file the edge to desired shape.
Applying
- Starting with the pinky on one hand and working to the thumb, dip your brush into the liquid and touch the brush tip to the powder. A small ball should form. Place that at the cuticle edge and smooth it forward mid nail. Use the brush to smooth by "patting" not dragging or painting motions.
- Repeat with a new ball on the brush, place at the middle of the nailbed patting forward to the tip. Be sure to get the edges of the nail. Use the brush to go around the edge of the cuticle clearing off any excess acrylic.
- Once dry and hardened on each nail, start with the roughest file or use a drill to file until smooth. See note *
Notes
Watch the included Youtube vid for more information and a visual!

Owner & Lead Recipe Developer for It's Simple! since 2015, where you will find our best Family Favorites & Keto Low Carb Dishes with Helpful Cooking Tips & Hints in each post. Many Thanks for Stopping By, Enjoy!




Hi i do my own nails but they fall easily is there a way to keep them on longer I have a acrylic kit but everytime I do them they don't last I was wondering if yuu had any tips on how to keep them on longer
HI!
Yes for sure-
1. make sure your hands are washed, free of oils and nails are scuffed up with a file before even applying tips.
2. Apply a product like BondAid https://www.opi.com/nail-products/dipping-powders/bond-aid-ph-balancing-agent
3. Keep your nails out of water as much as possible. Wear gloves doing dishes, etc.
Hope that helps!
Okay two questions for you I'm trying to find a better brush I found that I like the crimped ones but I'm not sure what site has the best deal. Okay the second thing is I know different climates work better with different products, so my question is what brand would you recommend for someone living in texas.
Hi Ashley,
I buy all my brushes on Amazon because of the selection and I would use CND or OPI products
I like doing this too but I hat that the lift on me!
Lifting is usually caused by getting the acrylic too close to the cuticle area. Try not to touch the acrylic at all to the skin and file it down enough.
Great post thanks !
2 water , 1 paint. The whitewash is created by watering down the paint.
So much esy and chipper rhan getting them done
I love this, so much cheaper
I never thought to do my own until i saw this !
I dont think I could get it just right, but I am going to try
Do you know if there is an all natural product to use ?